
🧷 Key Takeaways
- Press the Power + volume up/volume down button to take a screenshot without the Home button on newer iPad models.
- press the Power + Home button simultaneously to take a screenshot on iPads with the Home button on older models.
- Swipe up with the Apple Pencil from the bottom corner of the screen to capture a screenshot.
- Enable ‘Assistive touch’, and tap on the overlay button to take a screenshot.
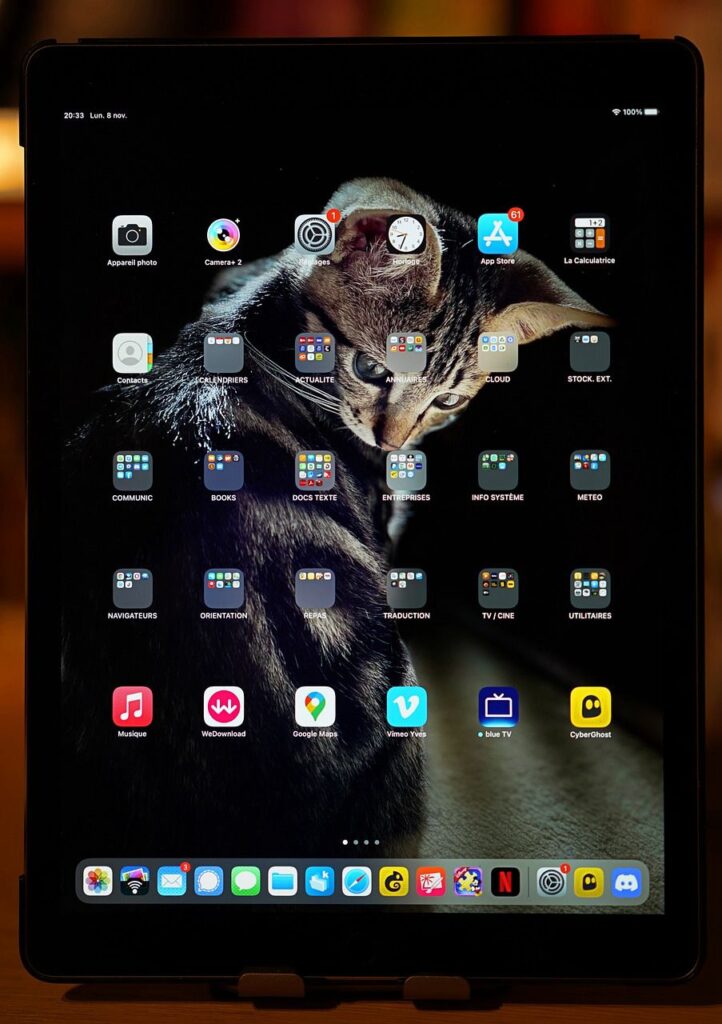
If you have just bought an iPad and use it often to perform daily chores, chances are you will need to capture a screenshot sooner or later.
There are plenty of reasons “why” you might need to take a screenshot on an iPad.
Maybe you would want to take a screenshot of yourself winning a video game or picking a favorite clip from a TV show.
Fortunately, your iPad offers multiple handy screenshot options, though the steps differ from model to model.
It doesn’t matter if your iPad has a home button or not, you can take screenshots. Additionally, if you own the Apple Pencil, you’re in luck, since you can take screenshots with it and edit them afterward – there’s even a virtual home button that comes in handy.
This step-by-step guide aims to provide instructions on how to take a screenshot on an iPad.
You’ll learn:
- To take a screenshot on iPad with a home button
- To take a screenshot on iPad without a home button
- To save, edit, and view a screenshot on iPad
- To take a screenshot on iPad using an Apple pencil
- To take a screenshot on iPad using the Assistive Touch feature
- To capture long screenshots on iPad
- Best third-party apps to take a screenshot on iPad
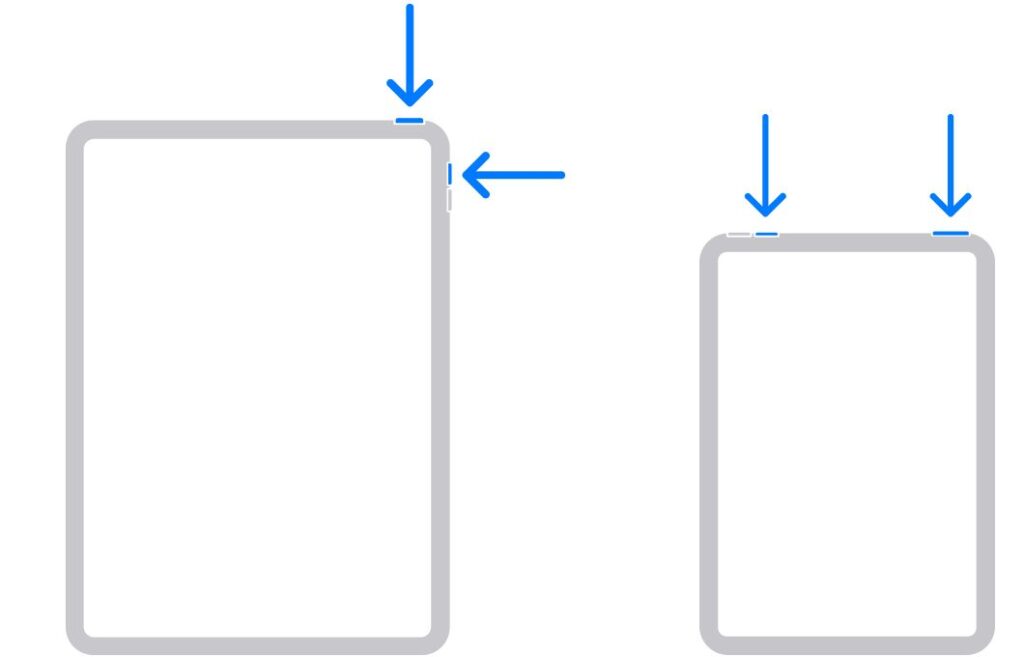
Take a screenshot on an iPad (without a Home Button)
Go to the screen you want to capture, and follow the steps below:
Take A Screenshot
- Press and hold down the Power + Volume buttons (any of them) simultaneously. iPads have a power button at the top-right corner and a volume control on the left side.
Save The Screenshot
Now, to save the screenshot to your camera roll, Swipe Left on the screenshot icon.
Wait 4-5 seconds and it will automatically save to the Photos app once the screenshot icon disappears.
Edit The Screenshot
- Tap on the screenshot icon, in the bottom-left corner, and the editing screen will appear.
- To crop the screenshot, drag the corner lines inward.
- You can also add text or draw directly on your screenshot using Markup.
- Tap “Done”, at the top left corner, when you are done editing.
- Tap on Save to Photos.
Alternatively, you can choose to save it to files, or quick notes, or copy and delete it if you want to retry or decide not to save it.
View captured screenshots in the Photos App
Screenshots are saved to your phone’s Camera roll.
To view it, tap on the Photos app, and go to All Photos on your device.
You can also share your photos from your iPad by Airdrop, email, Whatsapp, and more. Computer transfers are also possible.
![]() Photos app > Albums tab > Recents/Media Types (Screenshot Section).
Photos app > Albums tab > Recents/Media Types (Screenshot Section).
List of iPads without Home Button
- iPad mini (6th generation)
- iPad Air 4th generation
- iPad Air 5th generation
- iPad Pro 11-inch (1st generation)
- iPad Pro 11-inch (2nd generation)
- iPad Pro 11-inch (3rd gene
- iPad pro 12.9-inch (3rd generation )
- iPad pro 12.9-inch (4th generation)
- iPad pro 12.9-inch (5th generation)
- iPad pro 12.9-inch (6th generation)
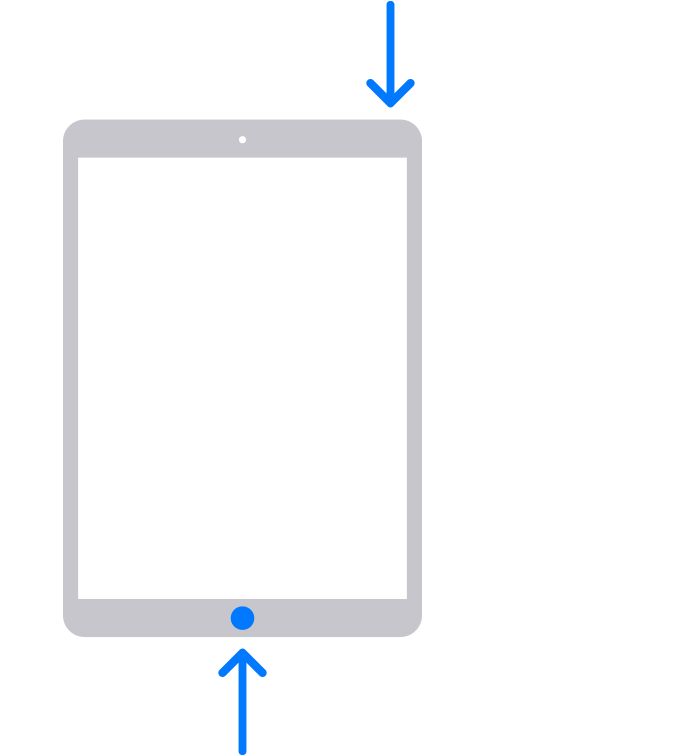
How to take a screenshot on an iPad (with a Home Button)

If you still have one of your older iPad models like the Air, Pro, or Mini with the home button at the front, then the process will be different for you.
Here’s how you can take a screenshot on iPad models using the Home button.
- Press Top + Home button simultaneously.
- Immediately release both buttons.
- A thumbnail will appear on the lower-left corner of your iPad screen after taking a screenshot.
- Tap the thumbnail to open it for editing or swipe left to automatically save it.
List of iPads with a Home Button
- iPad mini (5th generation)
- iPad (6th generation)
- iPad (7th generation)
- iPad (8th generation)
- iPad (9th generation)
- iPad Air (3rd generation)
- iPad Pro 10.5-inch
- iPad Pro 12.9-inch (2nd generation)
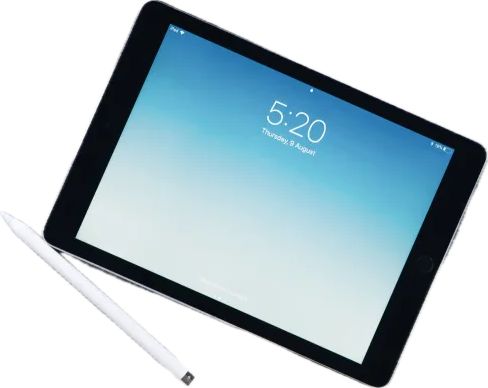
Take a screenshot on iPad (using an Apple pencil)
To me, it’s an artistic method to capture a screenshot on an iPad using an Apple pencil. But before we go ahead and learn how it’s done, make sure your Apple pencil has enough charge and is connected to your iPad.
Here’s how:
- Grab the pencil and place it on any of the iPad’s bottom corners.
- Now slide the Apple Pencil to the middle of the screen and the screen will shrink to a box.
- Take it off the screen to successfully capture a screenshot. As usual, the screen will flash and you will hear a shutter sound.
- Apple Pencil can also be used to mark up the screenshot. A tool palette appears at the bottom of the screen, which allows you to switch between drawing tools.
- Once editing is complete, tap Done, on the top left, to go to the next step.
Take Screenshots On iPad (Using Assistive Touch)
Using pencils and buttons can be very challenging, especially for those with compromised hand functions. To save you from this, Apple offers an incredible feature known as “Assistive Touch” that lets users capture screenshots just by tapping.
The following steps will show you how:
Enable Assistive Touch
- Navigate to the Settings app.
- Tap Accessibility. A blue person icon can be found in the middle of the page.
- Tap Touch and you will see an image of a white finger pointing with a blue background.
- Tap on it, and you’ll successfully enable the assistive touch feature on your iPad. The toggle will turn green when you enable it.
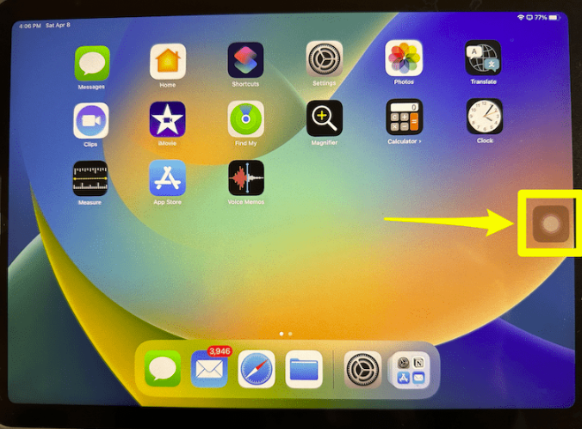
The AssistiveTouch button will appear on your screen, appearing as a group of faded, interconnected circles.
Now that AssistiveTouch is enabled, it’s time to set up the ability to take screenshots.
AssistiveTouch offers multiple screenshot options, so we’ll cover only the easiest ones here.
Tap on Double-tap or Long Press
Touch on double-tap and select the screenshot option from the system.
The AssistiveTouch button will take a screenshot every time you double-tap it.
Long-press screenshot option
Tap on long-press, and select the screenshot option from the system.
The AssistiveTouch button will take a screenshot every time it’s long-pressed. You can then find the screenshot captured in your Photos app.
How To Take Long Screenshots On iPad?
Do you know you can take screenshots of an entire webpage or conversation that extends beyond a single screen?
Fortunately, some older versions of IOS don’t support this feature.
NOTE: This feature is only supported by the Safari browser and is available only for screenshot sources with more than one page of content, so you’ll have to be quick.
Here’s how to take long screenshots on iPhones (iOS 13 and later) that include non-scrolling content:
Capture the initial screenshot
Take a screenshot as usual (of the visible portion of the content) by following the steps mentioned above for your specific iPhone model.
Tap on the thumbnail preview
After taking an initial screenshot, you’ll see a preview thumbnail appear in the bottom left corner.
Tap to open the thumbnail preview before it disappears.
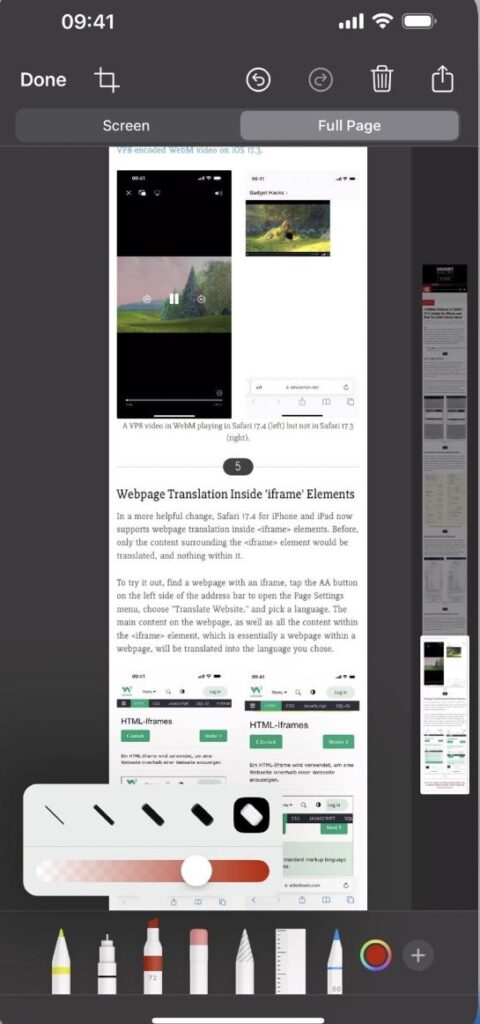
Look for the full-page option
As soon as you tap on the thumbnail preview you’ll see the captured screenshot with 2 options on the top.
- Screen
- Full Page
Third-party screenshot apps for iPad
Snappy
Whenever you want to take screenshots, Snappy will be on top, giving you features such as annotations, resizing, and changing the opacity. Clipping stuff from your screen is easy with this app.
Puush
Grab any portion of your screen with keyboard shortcuts or drag-and-drop dentures. With this app, a screenshot is immediately sent to Puush, so the user can share it on social media platforms such as Twitter. Screenshots can also be made private by users.
Ninja Capture by 500apps
The NinjaCapture Chrome extension by 500Apps lets you record, share, and edit screenshots and videos. Third-party services and email are available for sharing your screen.
Jumpshare
It is a free app that lets users take screenshots, record their screens, and share files instantly. The Jumpshare app can be used on an iPad to take screenshots. If you upgrade, you’ll get unlimited file uploads and 2 TB of storage.